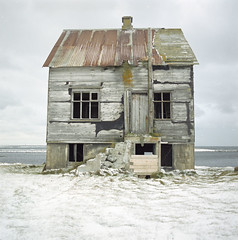
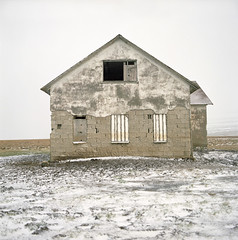

There is something strangely beautiful in old, decrypted buildings. There is history and a story. These photos by Numi Thorvarsson are of abandoned buildings in Iceland.

 (Photo courtesy of 2jane)
 (Photo courtesy of 2jane)
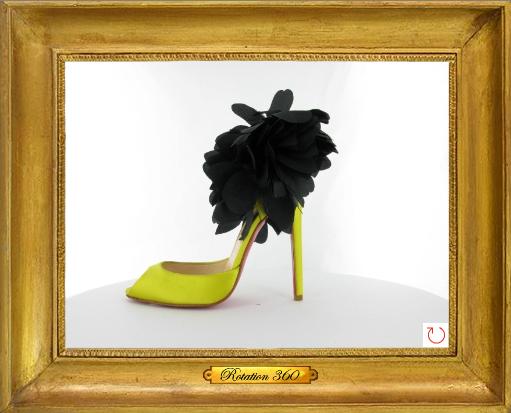

 (Photo courtesy of Mr. Christian Louboutin)
 (Photo courtesy of Betty Crocker)
|
|
|
| ||||
|
|
|
| ||||
|
| Print these coupons... |
| ||||
|
|
|
| ||||
|
|
|
| ||||
|
|
|
| ||||
|
|
|
| ||||
|
|
|
| ||||
|
| About Concordance™ |
|
| |||
|
|
|
| ||||
 (Photo by HouseLewis)
 (Photo by HouseLewis )
To make the crust: Mix flour, salt and butter together until well combined. Slowly add in water/vinegar mixture until dough comes together. Dump out onto saran wrap, mold into two balls, cover and place in the refrigerator for 30 minutes.
Dump out the dough and form 2 balls. Wrap in plastic and refrigerate for 30 minutes.
Preheat the oven to 350 degrees F.
In a large saucepan, heat the butter until foamy. Add the flour, whisking constantly until blended. Remove from the heat and whisk in the stock, cream and milk.
Put the pan back on low heat until the mixture has thickened. Add more flour as needed, but you don't want the sauce to be too thick. Taste for saltiness. Whisk in sage, nutmeg, salt (if necessary), and pepper. Remove from the heat, and in a large bowl, combine with the vegetables and chicken. Set aside.
Fill oven-safe ramekins with the chicken and sauce mixture.
Roll out the crust and cut a circle slightly larger than the ramekin. Place on top of the chicken mix. Crimp the edges with your fingers.
Mix the egg yolks, cream and water to form a glaze and brush on the top of the pies.
Place in the oven and cook for about 30 minutes (If needed, increase oven temp to 400 degrees F). Cook until the crust is golden and slightly crunchy. The filling should be bubbly.
Let pie rest for 10 minutes before serving.
Oh yeah...The side of girl scout cookies! My mom gave me some girl scout cookies and I put them in the freezer to try and stop myself from eating them. This was not a good idea because the darn cookies just taste even better when their frozen!

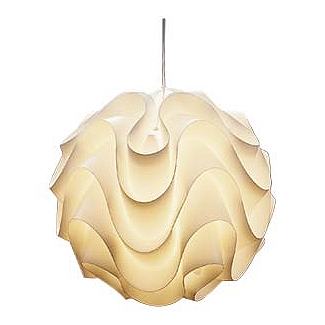
 (Photo courtesy of Design*Sponge)
 (Photo courtesy of Apartment Therapy)
 (Photo courtesy of The Lampshade Lady)
 (Photo courtesy of Instructables)
 I'm sure you've been salivating as you wait for the promised how-to for my chocolate cups. In the last Daring Baker's challenge, the Chocolate Valentino, I created these chocolate cups to hold coffee ice cream. Oh yum! I wish I had some now! They were quite easy and can be used for so many different treats. I'm already planning a dessert for berry season!